
Enabling/Disabling Job History Function
The Job History function is initially turned on (300,000 jobs). To change the default, follow the steps below.
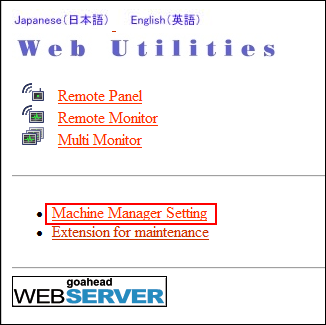
Display the [Main page] screen of Web Utilities.
Click on [Machine Manager Setting].
The password entry dialog box is displayed.
Enter "admin" in the User Name text box, and the 8-character administrator password in the password text box, then click on [OK].
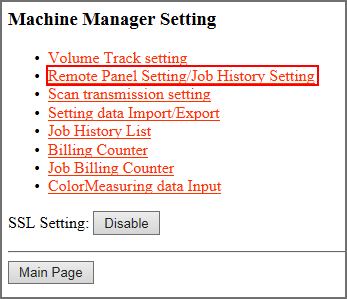
The [Machine Manager Setting] screen is displayed.
Click on [Remote Panel Setting/Job History Setting].
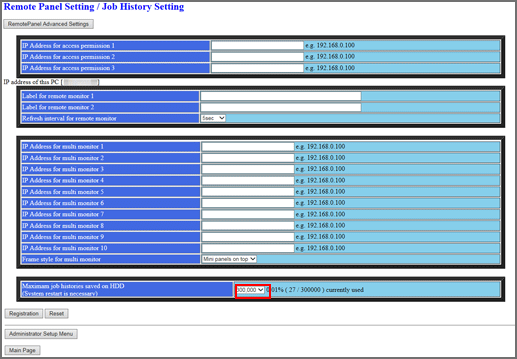
The [Remote Panel Setting/Job History Setting] screen is displayed.
Select the maximum number of jobs in the job history.
Select "0" (Job History function turned off), "100,000", or "300,000".
If the maximum number of jobs is exceeded, the oldest job history is overwritten.
Be aware that changing the maximum number of jobs may reset the job history data.
Activate the setting.
Click on [Registration], then turn off/on the main power switch.

When turning the main power switch off then back on, be sure to wait 10 seconds or longer before turning the main power switch on again. Otherwise, the machine may not operate properly.
Be sure not to turn off the main power switch before turning off the sub power switch. Be sure not to turn off the main power switch while the following messages are displayed after turning off the sub power switch.
[Cooling in progress / Power will be off when completed]
[Power off in progress / Please do not turn the main power switch off]
Turning off the main power switch with these messages displayed may cause serious machine trouble such as toner fixation.

For how to turn off the power, refer to Main Power Switch and Sub Power Switch.