Adjusting the Tone Curve with Color Centro
Start Color Centro, and adjust the tone curve.
Start Color Centro and log in to the machine. (Refer to Start Color Centro.)
The Color Centro top screen is displayed.
Click [Tone Curve Adjustment] on the top screen.
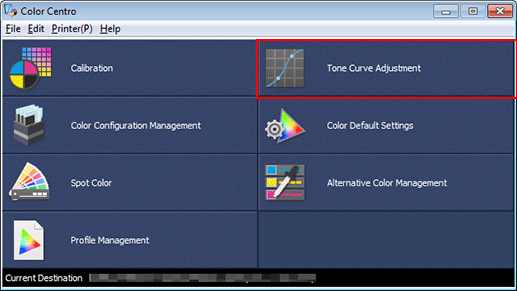
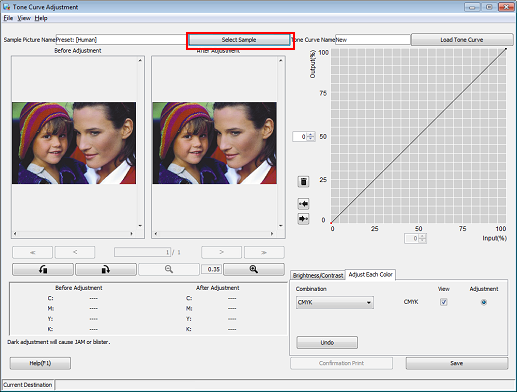
The [Tone Curve Adjustment] screen is displayed.
Click [Select Sample].
Press [Hold Job].
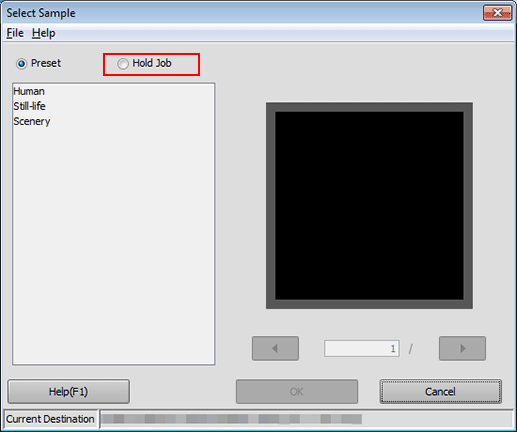
Select the file name for the temporarily saved job and click [OK].
When [Hold Job] is selected, the jobs temporarily saved on the HDD are displayed in a list.
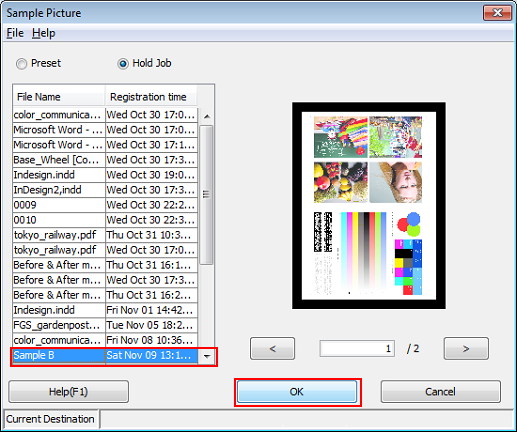
The selected image is loaded to the [Tone Curve Adjustment] screen, and the sample image is displayed.
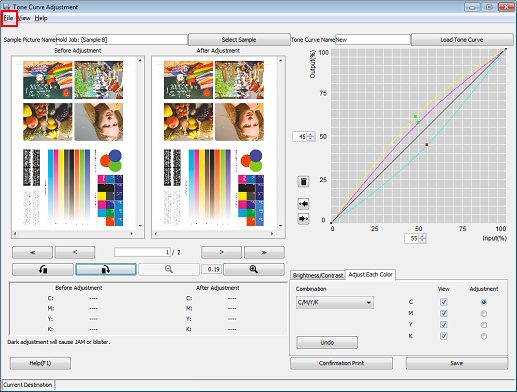
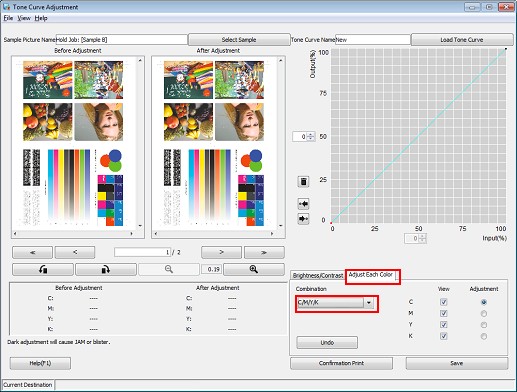
Click [Adjust Each Color], and then select [C/M/Y/K] for [Combination].
To adjust brightness and/or contrast, click [Brightness/Contrast].
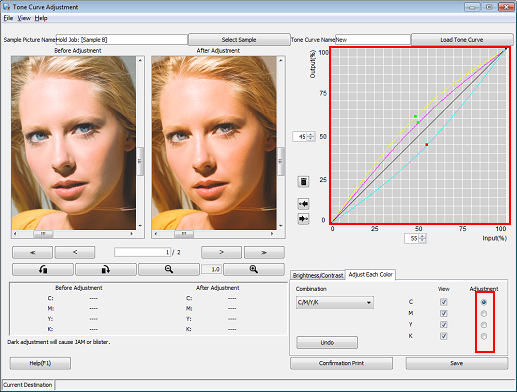
Under [Adjustment], select the radio buttons of the colors that you want to adjust (C/M/Y/K). Click on the tone curve and drag the displayed handle (operating point) to adjust the tone curve.
Make the adjustment while checking the sample images under [Before Adjustment] and [After Adjustment].
To change the displayed part of the image, move the scroll bar.
You can use the buttons under the sample images to turn the images 90 degrees clockwise and counter-clockwise, and to zoom in and out the images.
To make an image brighter (to make colors lighter), make the curve more concave.
To make an image darker (to make colors deeper), make the curve more convex.
To raise the contrast (to make darker colors darker and lighter colors lighter for enhanced sharpness), make an S-shaped curve.
To lower the contrast (to make darker colors lighter and lighter colors darker for more even expression), make a reverse S-shaped curve.
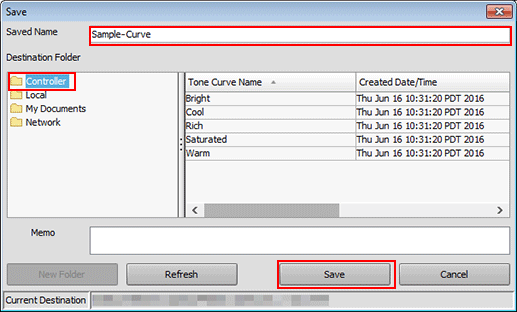
After making the adjustment, click [Save].
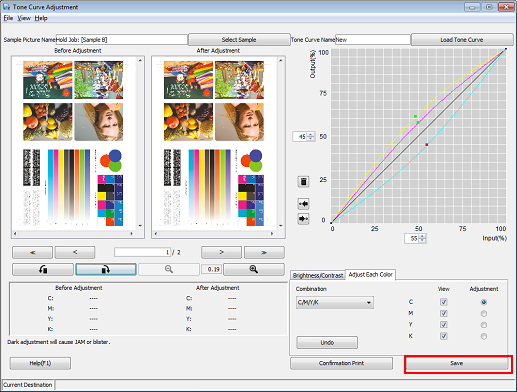
Enter the name of the adjusted tone curve. Select [Controller] as the [Destination Folder] and click [Save].
Selecting [Controller] saves the spot color to the image controller.
Example: The tone curve is saved with the name "Sample-Curve."
When the Save complete message is displayed, click [OK].

Close the screen by selecting [Close] from the [File] menu.