
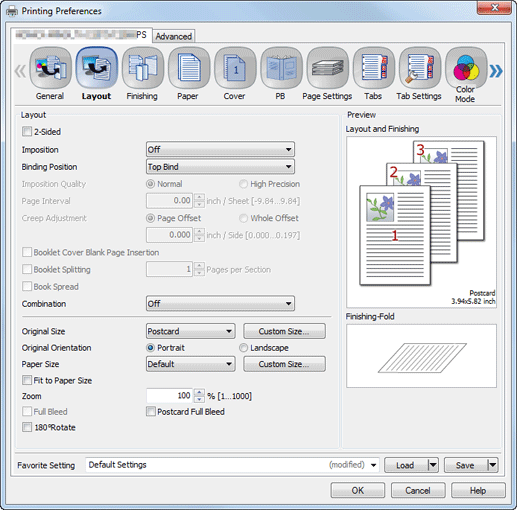
Layout
Function | Option | Description |
|---|---|---|
[2-Sided] | Off, On | Set this to perform a 2-sided printing. On: Enables 2-sided printing (default). Off: Enables 1-sided printing.
|
[Imposition] | [Off], [Adhesive Binding], [Booklet], [2 in1 (Full Size)], [4 in 1 (Full Size / Horizontal)], [4 in 1 (Full Size / Vertical)], [2 Repeat], [2 Repeat Reversal (Left)], [2 Repeat Reversal (Right)], [4 Repeat], [8 Repeat] | Set this to perform an imposition printing.
|
[Binding Position] | [Left Bind], [Right Bind], [Top Bind] | Set this to specify the binding position. |
[Imposition Quality] | [Normal], [High Precision] | Set the imposition quality. |
[Page Interval] | -250 mm to +250 mm | Set the interval between book spread pages when setting the imposition function. When selecting [High Precision] on the [Imposition Quality], you can enter the value of page interval by 0.01 mm.
|
[Creep Adjustment] | [Page Offset]: 0 mm to +5.00 mm / 0" to 0.2" [Page Offset]: 0 mm to +50.0 mm / 0" to 0.2" | Adjust the width of page intervals by considering the thickness of the folded [Booklet] so that the page interval becomes narrower the further the pages are to the center pages of the booklet. In [Page Offset], specify the offset amount for each page. In [Whole Offset], specify the offset amount based on the total number of pages. |
[Booklet Cover Blank Page Insertion] | Off, On | Inserts a blank page in order to print the last page on the back cover of a booklet when the total number of pages in a booklet is not a multiple of 4. |
[Booklet Splitting] | - | Input a number of pages to split a booklet. It inserts a blank page automatically if the value for [Booklet Splitting] is not a multiple of 4. |
[Book Spread] | Off, On | Set this to perform book spread printing from mixed sized originals in the case of Booklet or Adhesive Binding.
|
[Combination] | [Off], [2-in-1], [2 in 1 (Reverse)], [4-in-1], [4 in 1 (Reverse)], [6-in-1], [6 in 1 (Reverse)], [8-in-1], [8 in 1 (Reverse)], [9-in-1], [9 in 1 (Reverse)], [16-in-1], [16 in 1 (Reverse)] | Combine more than one pages onto one sheet of paper for printing. |
[Original Size] | The paper sizes registered as the standard paper sizes and custom sizes | Set a paper size of the original. When you select the [PostScript Custom Page Size], the size specified by [Custom Size] is used. In addition, when you register the Custom Paper Size Name using the [Custom Size] - [Custom Size Registration], you can also select the name of the size. |
[Custom Size] | Enter or register the size. You can specify the size as a [PostScript Custom Page Size]. As for the setting value to the [PostScript Custom Page Size], the entered value is also applied to the [PostScript Custom Page Size] in the [Paper Size]. The same value is applied to the [PostScript Custom Page Size] in the [Original Size] and [Paper Size]. Whichever value you enter later is applied to both of the settings. In addition, when you want to register the name for the original size, you can register the name and the size in the [Custom Size Registration]. | |
[Original Orientation] | [Portrait], [Landscape] | Set the orientation for the original. |
[Paper Size] | The paper sizes registered as the standard paper sizes and custom sizes | Set a paper size. When you select the [PostScript Custom Page Size], the paper size registered as [Custom Size] is used. In addition, when you register the Custom Paper Size Name using the [Custom Size] - [Custom Size Registration], you can also select the name of the size. |
[Custom Size] | Specify or register the size. You can register the size as a [PostScript Custom Page Size]. As for the setting value to the [PostScript Custom Page Size], the entered value is also applied to the [PostScript Custom Page Size] in the [Original Size]. The same value is applied to the [PostScript Custom Page Size] in the [Original Size] and [Paper Size]. Whichever value you enter later is applied to both of the settings. In addition, when you want to register the name for the paper size, you can register the name and the size in the [Custom Size Registration]. | |
[Fit to Paper Size] | Off, On | Use this setting to fit the printed document on the page when the original size is different from the paper size. |
[Zoom] | 1% to 1000% | Set an enlarge or reduce ratio. |
[Full Bleed] | Off, On | Print in the original image without blank borders. This function is available when [High Precision] on the [Imposition Quality] is selected. This function is available when [Paper Size] is larger than [Original Size]. |
[Postcard Full Bleed] | Off, On | Use this setting to make prints without placing blank borders in the original image when paper with a narrow width such as A6-size paper is selected. For details, contact your service representative. |
[180° Rotate] | Off, On | Select On to rotate the document 180° to print. |

[Custom Size] can be specified within the following range.
Width 90 mm to 330.2 mm / Width 3.54" to 13.00"
Height 148 mm to 1200.0 mm / Height 5.83" to 19.17"
You cannot specify the paper size as a Custom Size depending on the mounted Feeding option.
For details about available sizes, refer to Feeding Option Specifications or contact your service representative.Available range of banner paper size is as follows.
Width(Widthwise) 100 mm to 330.2 mm / Width(Widthwise) 3.94" to 13"
Height(Lengthwise) 487.8 mm to 1200.0 mm / Height(Lengthwise) 19.2" to 47.24"
Banner paper of 279 mm / 10.98" or narrower in width may not be correctly printed depending on the paper type or environment.For details about how to print data on banner paper, refer to Printing on Banner Paper.