Saving a hold job on the HDD
Follow the procedure below to save the hold job in the HDD.
Press the [JOB LIST] tab to display the [JOB LIST] screen.
Press [Hold Job].
The [Hold Job] screen will be displayed.
Select the job to be stored on the HDD.
Press the row of the desired job on the list.
If the desired job is not found on the list, press [
 ][
][ ] to display that job.
For the jobs created by this machine, such as the copy job and save job, the machine icon
 is displayed on the left side of the preview screen. The machine icon is not displayed for print jobs sent from a computer.
Pressing each title in the title row will sort the list in selected order.
If data with the same file name exists, [File Name Repetition] is displayed in the upper left of the list table, and the
 mark is displayed to the right of the file name.
If a job that was moved from the reserved job exists, [Jobs from Reserved Job] is displayed in the top center of the list. Jobs moved from the reserved job cannot be stored on the HDD. For these jobs, a round blue icon
 is displayed to the left side of the preview icon. If any of these jobs exists, it is listed separately from other jobs.
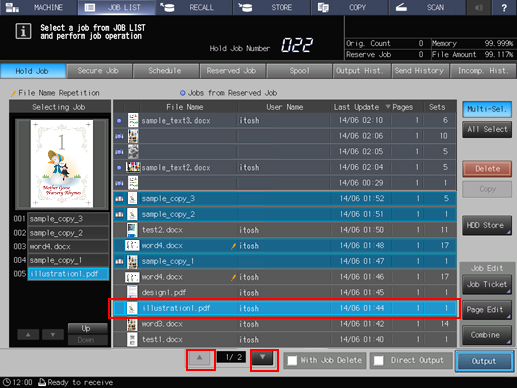
Press [Multi-Sel.] first to select multiple jobs.
Press [All Select] to select all jobs on the list. Pressing this key selects all jobs on the list, but [Multi-Sel.] appears highlighted instead.
Press [HDD Store].

The [Root Directory] screen is displayed.
Specify the directory (root directory, folder, box) of the HDD.
If the folder or user box is password-protected, enter the password.
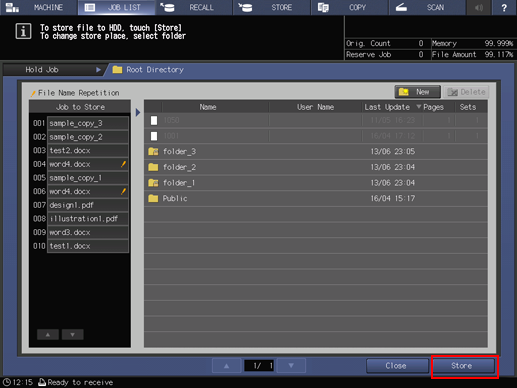
You can also create a new folder or user box to save the job. For details about how to create a folder and user box, refer to Preparing a folder or user box.

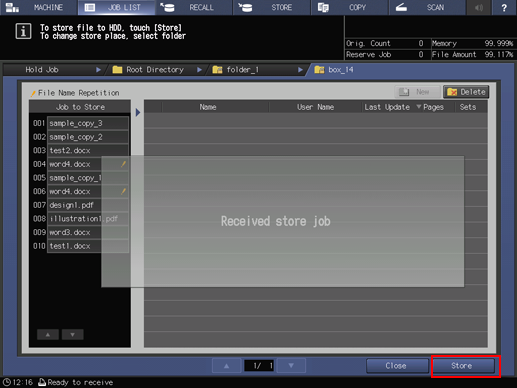
Press [Store].
The machine stores the job selected in step 3 onto the directory specified in step 5 of the HDD.
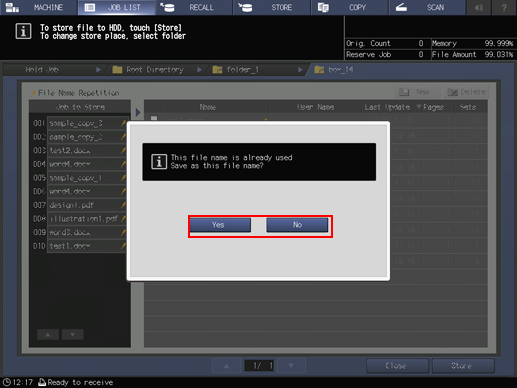
If the file name of the job has been duplicated, a confirmation dialog will be displayed. Press [Yes] to save it or press [No] to cancel.