
Enabling or Disabling Density Balance Adjustment Data
Enable or disable density balance adjustment data.
Setting [Enable] is allowed for only one among multiple pieces of adjustment data specified for the same screen type, paper type, and weight. The data set to [Enable] is effective when the adjusted screen type is used for output.
The density balance data being grayed out on the list do not function even if [Enable] is selected. This is because the screen type of dimmed data is not the same as that currently specified for the machine. If you select the same screen type as that displayed on the list in UTILITY, the dimmed data returns to the normal display, and it functions normally if you select [Enable]. For details about how to change the screen type, refer to Custom Screen: Selecting the Screen Type.
Follow the procedure on Administrator Setting to display the [Administrator Setting Menu] screen.
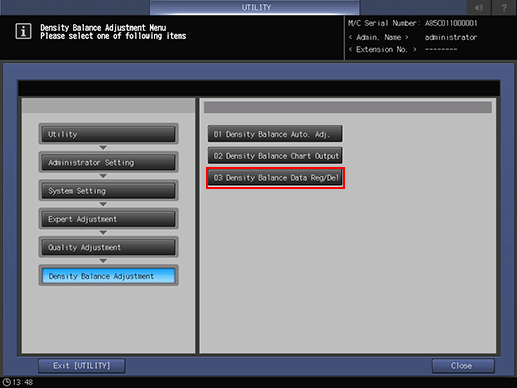
Press [System Setting] on the [Administrator Setting Menu] screen, and then press [Expert Adjustment], [Quality Adjustment], [Density Balance Adjustment], and [Density Balance Data Reg/Del] in sequence.
Press either [Enable] or [Disable] in the right side of the screen.
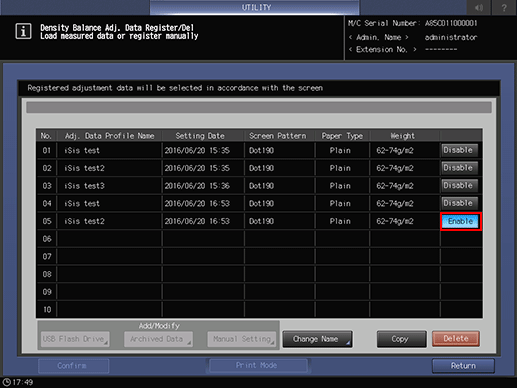
If multiple pieces of adjustment data are set for the same screen type, paper type, and weight, set [Enable] for the desired one. Others are automatically set to [Disable].
Press [Return].
The screen returns to the [Density Balance Adjustment Menu] screen.