
Executing Controller Calibration with Color Centro
Start Color Centro, and use the i1Pro instrument to perform calibration.
Connect the instrument to the computer.
Example: The i1Pro is connected.
The device driver for the instrument must be installed on your computer beforehand. For details, refer to the instrument's manual.
Start Color Centro and log in to the machine. (Refer to Start Color Centro.)
The Color Centro top screen is displayed.
Click [Calibration] on the top screen.
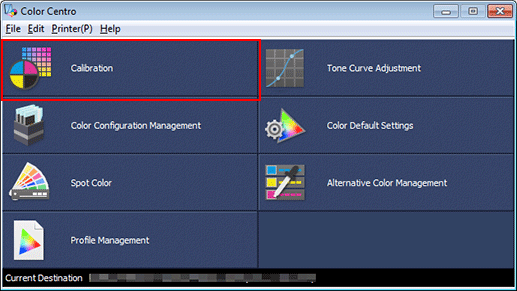
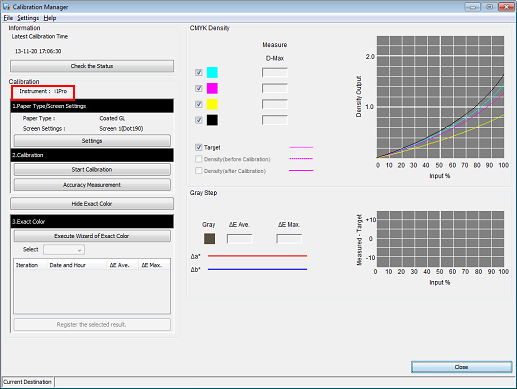
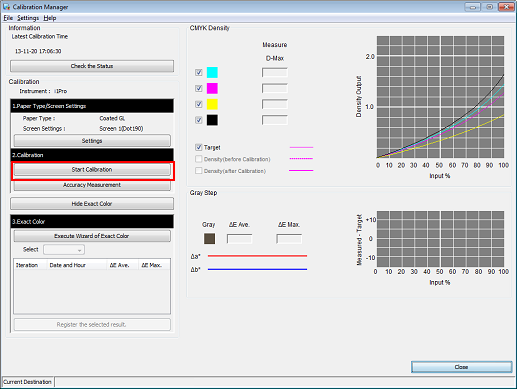
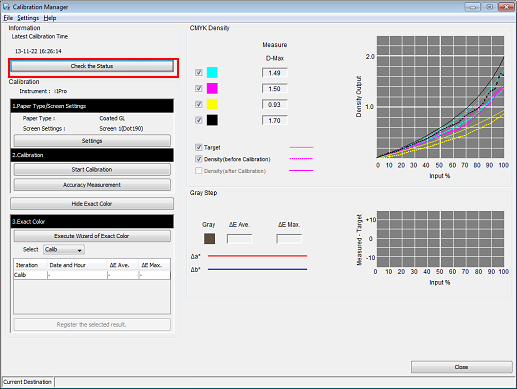
The [Calibration Manager] screen is displayed.
Check that the instrument to be used is displayed under [Calibration].
If the correct instrument is not displayed, select the instrument to be used from the menu bar [Settings] - [Instrument].
Example: Check that [Instrument: i1Pro] is displayed.
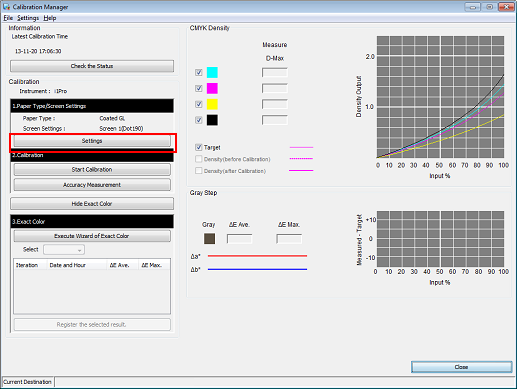
Click [Settings] under [1. Paper Type/Screen Settings].
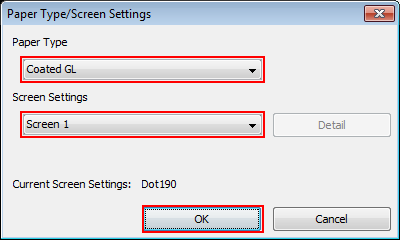
Set the [Paper Type] and [Screen Settings] on the [Paper Type/Screen Settings] screen and click [OK].
Example: Set the [Paper Type] to [Coated GL], and the [Screen Setting] to [Screen 1] (default).
Item
Setting
[Paper Type]
[Coated GL]
[Screen Setting]
[Screen 1]
You do not need to change from the default setting, [Screen 1].
Click [Start Calibration].
To enable this button, turn off Color Density Control. For details, refer to Periodical Adjustment (Automatic Adjustment): Setting Color Density Control Automatically.
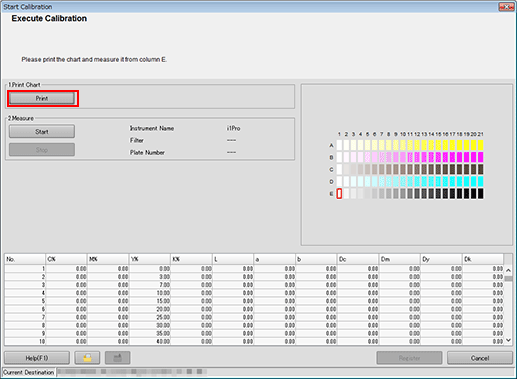
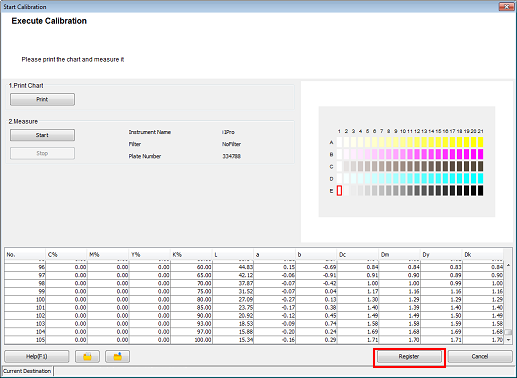
The [Execute Calibration] screen is displayed.
Click [Print].
Print the color chart that is to be measured using the instrument.
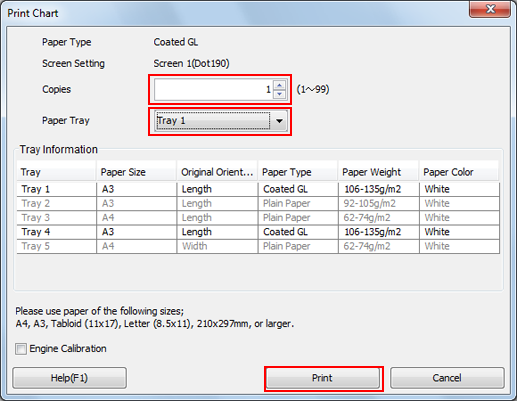
The [Print Chart] screen is displayed.
On the [Print Chart] screen, set the [Copies] and [Paper Tray]. After setting, click [Print].
Example:
Item
Setting
[Sets]
1
[Paper Tray]
Tray 1
A test chart is printed. On the chart, Print Date, Output Number of Sets, and No. are printed.
Connect the instrument to the computer and click [Start] on the [Execute Calibration] screen.
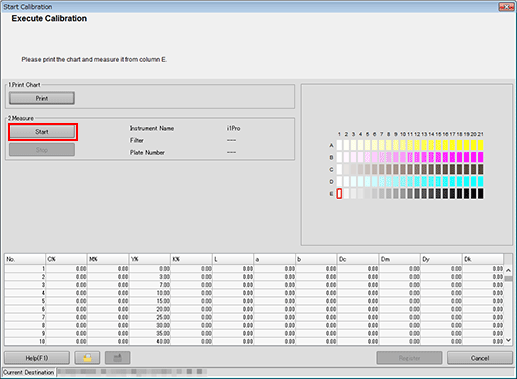
Calibration starts.
When the following message is displayed, place the instrument flat on the calibration dock and click [OK].
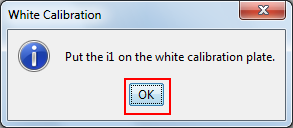

Stack 10 sheets of blank paper whose type is the same as that of the paper where chart has been printed, and place the printed chart on top of it.
To eliminate the influence of the color of the table, place 10 sheets of paper of the same type as the chart underneath the chart to be measured.
When the following message is displayed, click [OK].
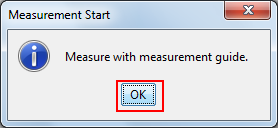
Place the measurement guide plate flat on the chart. Press and hold the button on the instrument and when it beeps, while holding down the button slide the instrument from the top left patch toward the right.
Measure the rest of the patch rows by sliding the instrument the same way.


After you finish the chart measurement, click [Register] on the [Execute Calibration] screen.
When the chart measurement is completed, the measurement result is displayed at the bottom of the [Execute Calibration] screen.
Check the measurement result. If there is no problem, register the calibration table.
By registering the acquired calibration data in the image controller, this data can be applied when printing.
Click [OK] on the [Information] screen.

The calibration table is registered in the image controller.
Check the graph display and other information on the [Calibration Manager] screen. After checking the displayed content, click [Check the Status].
On the [Confirm all registrations] screen, check the registered paper type, registration date/time, and other details.
