
[Schedule] screen
The job bar display shows the relation between the paper tray to be used in a job and the following.
Number of sheets to be used in the job
Estimated time to start and complete the job
Time required for the job (minute)

The Schedule function can be used when Image Controller IC-603 is mounted.

No. | Name | Description |
|---|---|---|
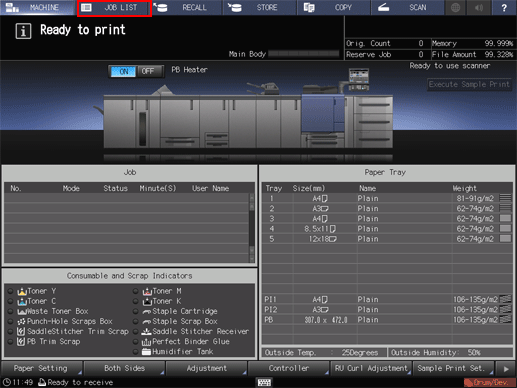
1 | [JOB LIST] | Press to proceed to the [Schedule] screen or display the [JOB LIST] screen. The [Schedule] screen is displayed when [Schedule] is pressed on the [JOB LIST] screen. |
2 | Paper tray items | Displays loaded paper size, remaining amount, and paper weight and type specified for the tray in Paper Setting. |
3 | Unit of operation line | Indicates the number of sheets to be used, required time (minutes), or estimated time for reserved jobs. |
4 | Job bar display | Displays the reserved job with blue, yellow or orange bar according to the rules below: - Blue: Available for output with plenty of paper. - Yellow: Short supply of paper. - Orange: Highly likely to stop due to lack of paper, no appropriate paper loaded, or unavailable for output due to a different paper setting specified. When using multiple trays for one job, multiple bars are displayed. The background of each job is displayed in gray shading so you can determine the end of each job. |
5 | [Paper Setting] | Changes the paper settings specified on this machine. |
6 | [Change Unit] | Pressed to switch the three units of operation-line (Sheet Volume, Timetable, Time Frame (m)). |
7 | [-/+] | Pressed to change the scale of the job bar display. |
8 | [Hold Job] | Holds the selected job. |
9 | [Delete Job] | Pressed to delete the selected job. |
10 | Paper setting dialog | Displayed when a bar in the job bar display is pressed. It provides the paper setting and detailed paper setting of the selected job. |
11 | [Change Tray Paper] | Press to change the tray selection of the reserved job, or to change the paper setting of the selected tray. |
12 | [Confirm Details] | It provides information of paper setting of the selected job bar. |
13 | Operation dialog | Appears when a bar in the job bar display is pressed. The dialog provides [Job Reselect], [Tray Select], and [Order Change] to make each operation for the job. |
14 | [Job Reselect] | Switches the paper setting dialog between jobs when multiple job bars are displayed. |
15 | [Tray Select] | Switches the paper setting dialog from one tray to another, if the selected job uses more than one tray. |
16 | [Order Change] | Changes the output order of reserved jobs. |
17 | No Appropriate Paper | Displays a job bar when no appropriate tray is found for a copy job specified as [Auto Paper] or for a print job with [Automatically Select] specified for Paper Tray in the Printing Preferences window, or when the corresponding tray runs out of paper. |
The [Schedule] screen is reloaded when the machine goes into the following conditions.
When a paper tray is loaded, pulled out, or changed in paper amount
When the paper setting has been changed
When a job operation has started or restarted
When a reserved job is added, changed in output order, or deleted
When an output job is completed
When the screen update interval of 30 seconds or more occurs while printing
The job bar for the current output job indicates the remaining amount of that job, becoming shorter over time.
The job bar will be shown in the job bar display after scanning the original or transferring images from the image controller is completed.
The required time shorter than a minute will be indicated as a minute.
Make settings to output a job.
Press the [JOB LIST] tab to display the [JOB LIST] screen.
Press [Schedule] on the [JOB LIST] screen.
For details about how to operate it, refer to the following descriptions.