
Overview of Z-Folding
Mount Folding Unit FD-503, and then finish the PDF document with Z-Fold.
Example Introduced in This Section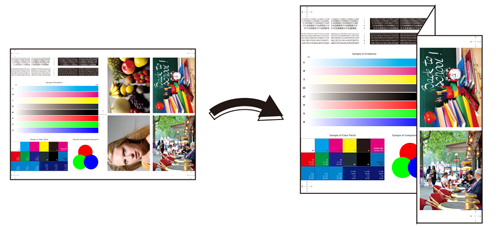
Folding Unit FD-503 is required (refer to Folding Unit FD-503).
Tips
Z-Fold can be used in combination with a punch that makes punch holes in the printed paper.
If the optional Finisher FS-532 has been mounted, it can be used in combination with the staple for the printed paper.
Intended Environment
Operating system | Windows 7 |
Application | Adobe Acrobat Reader DC |
Printer driver | PS Plug-in Driver |
Image Controller | Image Controller IC-605 |
Mounted finisher | Folding Unit FD-503 |
* The sample screen may be different from the actual display depending on your system environment and application version/revision.
Workflow
Setting printer driver
Checking the finishing
Check the finishing of the printed document, then make adjustments with reference to the link if needed.
Recommended Combination
Stamp: You can insert Date/Time, Page Number and Copy Number in each page at the time of printing. (Stamp tab of the printer driver. Refer to [Stamp] Screen.)
Sort/Group: When printing two or more sets, you can output by set or by page. (Finishing tab of the printer driver. Refer to [Finishing] Screen.)
1-sided or 2-sided print on a page basis: You can set 1-sided or 2-sided print for each page. (Page Settings tab of the printer driver. Refer to [Page Settings] Screen.)
Punch: Make punch holes in papers at the time of printing. (Finishing tab of the printer driver. Refer to [Finishing] Screen.)
Precautions
Prior to printing, make sure of the following when performing setting and operation.
Load the papers and configure the paper settings (refer to Setting Paper in a Paper Tray/[Paper Setting]/Registering or Deleting a Paper Profile)
To reproduce stable colors, in addition to regular calibration, make other pre-output image quality adjustments as necessary, such as when changing screens or papers or when hue is important. For details, refer to Image Quality Adjustment Using Image Controller.
To adjust the image positions of front and back sides of printing, make pre-output image quality adjustments. For details, refer to Both-Side Adjustment Flow.
If you cannot set this function, make sure that the optional device has been correctly mounted.
Match the original orientation and the orientation of the paper in the paper tray.