
Annotation Setting
Set and register the necessary settings beforehand for using the Annotation function of Stamp on the Application screen. You can register up to 40 sets of the annotation settings. Also, you can edit or delete registered annotations.
Configure and register the following items to use annotations:
Menu item | Description | |
|---|---|---|
Title | Enter the title of annotation. You can enter up to 12 one-byte characters (6 two-byte characters). | |
Item 1 Item 2 Item 3 | Overview | For each of Item 1, Item 2, and Item 3, select one annotation type from Text, Date/Time, or Annotation No., and set contents to be printed. You can only have one set of annotation for each item. Press No Print if you do not want the annotation to be printed. Press Text Setting to specify the size and font of the text printed. |
Text | When selecting Type In as an item of the annotation, specify the text string to be printed. Up to 40 one-byte characters can be used. | |
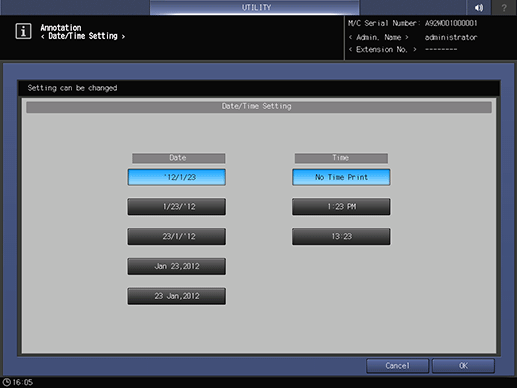
Date/Time | When selecting Date/Time as an item of the annotation, specify the style to be printed. Date: Select one from the five styles (' 12/1/23, 1/23/' 12, 23/1/' 12, Jan 23, 2012, 23 Jan, 2012). Time: Select one from the two time formats or No Time Print (No Time Print, 1:23PM, 13:23). | |
Annotation No. | When selecting Annotation Number as the item of annotation, specify whether or not to print Text and Annotation Number. Both can be set to be printed. You can enter up to 20 one-byte characters for Text. You can enter up to 9 one-byte characters for Annotation No.. Select either All Digit or EffectiveDigit for the print form of Annotation Number. | |
No Print | Select this key when you do not want the annotation for the selected item to be printed. | |
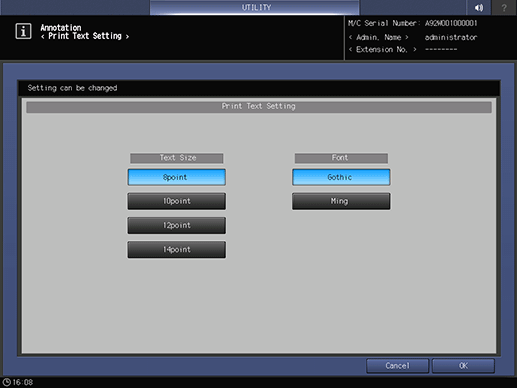
Text Setting | Specify the text size and font of the Text, Date/Time, or Annotation No. for the selected item. | |
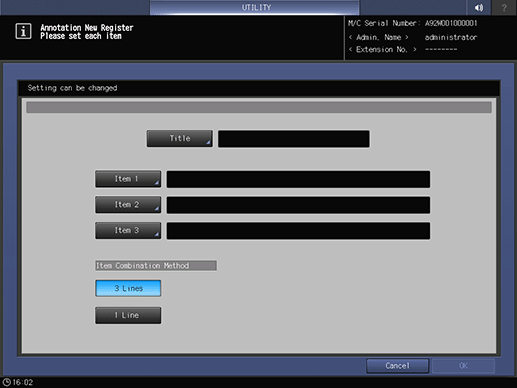
Item Combination Method | Overview | When more than one item is set for annotations, select whether to print all items in a line or print each item in a line by inserting line feeds. |
3 Lines | The space for three lines is secured and each item is printed in a line, inserting line feeds. | |
1 Line | All the set items will be printed in a single line. | |
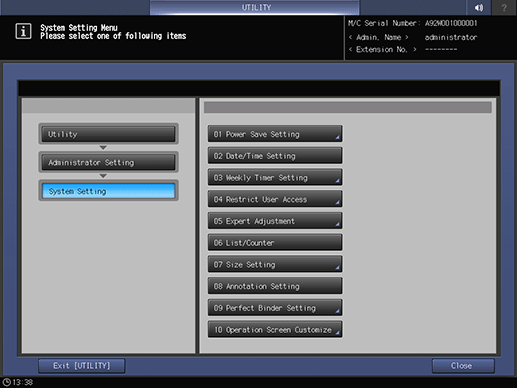
Follow the procedure on Displaying the [Administrator Setting Menu] Screen to display the Administrator Setting Menu screen.
Press System Setting on the Administrator Setting Menu screen, and then press Annotation Setting.
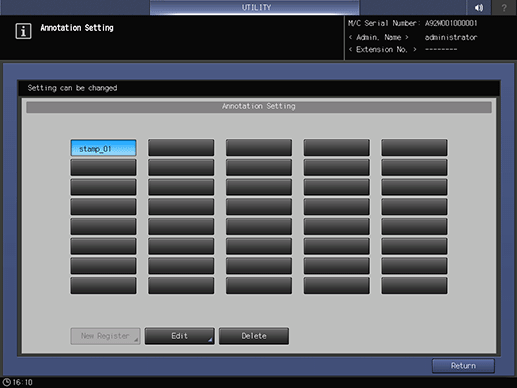
The Annotation Setting screen is displayed.
Select a blank key on the Annotation Setting screen, and then press New Register to register a new annotation setting.
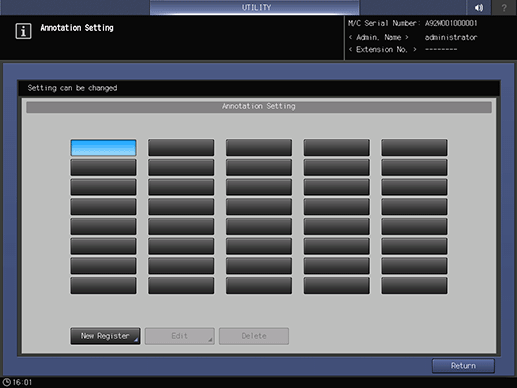
The Annotation New Register screen is displayed.
supplementary explanationIf you need to edit annotation settings, proceed to step 10.
supplementary explanationIf you need to delete annotation settings, proceed to step 13.
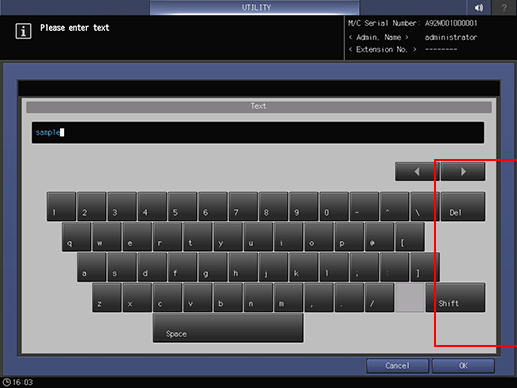
Press Title to display the Title Entry screen. Enter the desired title.
supplementary explanationBe sure to enter the title. If not, the registration cannot be completed. For more information about how to enter characters, refer to Inputting Characters.
supplementary explanationPress OK when completed.
Press Item 1.
supplementary explanationThe No. 1 Item Setting screen is displayed.
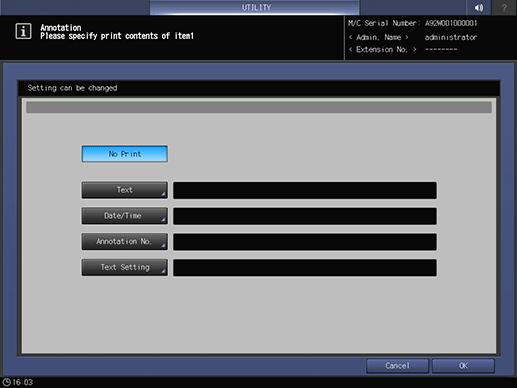
Select one out of Text, Date/Time, and Annotation No. and set contents to be printed.
supplementary explanationSelect Text to display the Text Entry screen. Enter the text to be printed as an annotation and press OK. For more information about how to enter characters, refer to Inputting Characters.
supplementary explanationPress Date/Time to display the Date/Time Setting screen. Select one of the Date options and one of the Time options, then press OK.
supplementary explanationWhen Annotation No. is selected, the Annotation Number Setting screen is displayed.
supplementary explanationTo add text and numbers to the annotation number, select ON to the right of Text, and then press Set. Enter text and/or numbers on the Text Entry screen, and press OK.
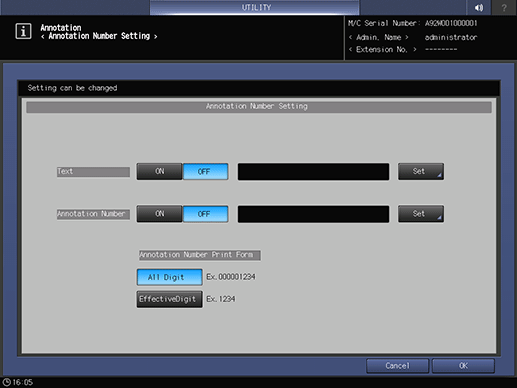
supplementary explanationTo print an annotation number, press ON on the right of Annotation Number, then press Set. Enter a number from 0 to 9, then press OK.
supplementary explanationPress All Digit to print all nine digits of the entered annotation number or EffectiveDigit to print only the effective digits under Annotation Number Print Form
supplementary explanationSelect No Print, if you do not want Item 1 to be printed. The setting is deleted when No Print is pressed after setting the Text, Date/Time, or Annotation No..
supplementary explanationPress Text Setting to display the Print Text Setting screen. Select one of the Text Size options and one of the Font options, and then press OK.
Press OK to complete the setting.
supplementary explanationTo cancel the change, press Cancel. In either case, the screen returns to the Annotation Setting screen.
Press Item 2 and Item 3 to configure the settings, as necessary.
supplementary explanationRepeat steps 5 to 7 above.
Press OK to complete the setting.
supplementary explanationTo cancel the change, press Cancel. In either case, the screen returns to the Annotation Setting screen.
Select a registered key and press Edit to edit a registered annotation setting.
The Annotation Edit screen is displayed.
Repeat steps 5 to 8 above to edit an existing setting.
Press OK to complete the setting.
supplementary explanationTo cancel the change, press Cancel. In either case, the screen returns to the Annotation Setting screen.
Press a registered key and Delete to delete a registered annotation setting.
A confirmation dialog is displayed.
Press Yes.
supplementary explanationOr, press No to cancel.
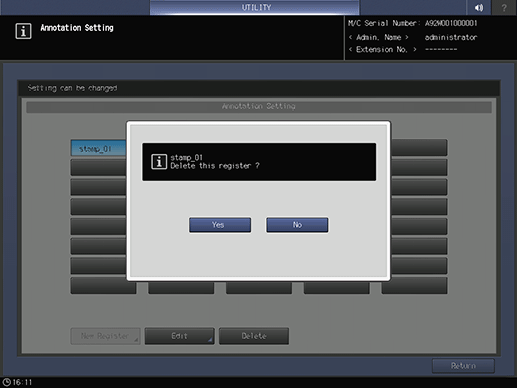
The screen returns to the Annotation Setting screen.
Press Return.
The screen returns to the System Setting Menu screen.