Mouse Operations
Using the Mouse
If OFF is set for Service Port Device Setting in System Setting in User Setting accessed from the UTILITY screen, the mouse is not available. For details, refer to [Service Port Device Setting].
MACHINE Screen
Make sure that there is a job on the reserved job list on the center left of the MACHINE screen.
You can move on the list by using the wheel.
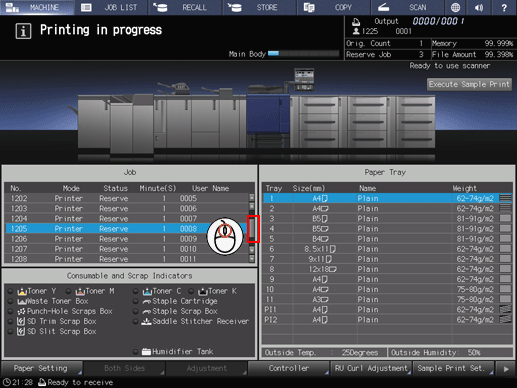
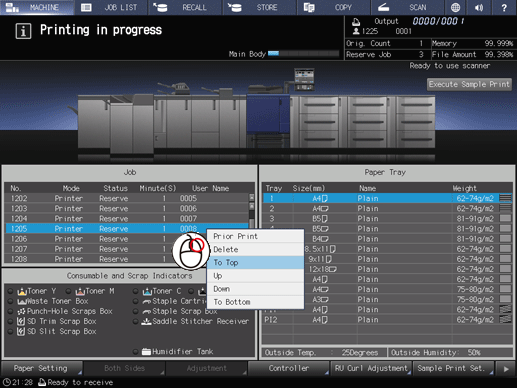
Display a menu by right-clicking on a job on the reserved job list.
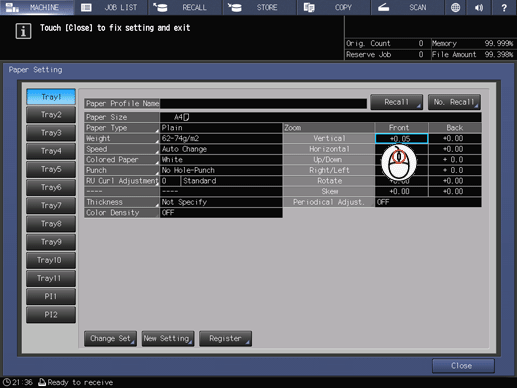
Confirm the following operations on the Paper Setting screen.
Pull down: Press a weight on the upper left of the screen.
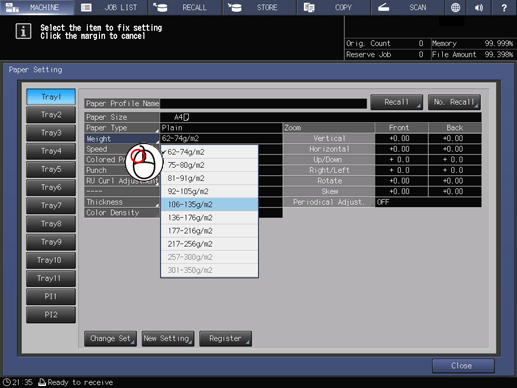
Mouse wheel number input: Move the cursor onto Front - Vertical in Zoom, click it, then turn the wheel to change the numeric value.
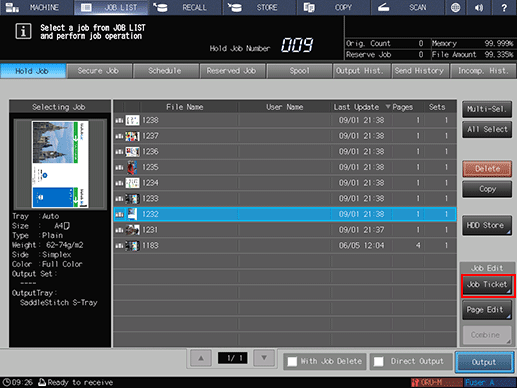
JOB LIST Screen
You can move on each list by using the wheel.
Select a job from the hold job list in the JOB LIST screen, and then press Job Ticket.
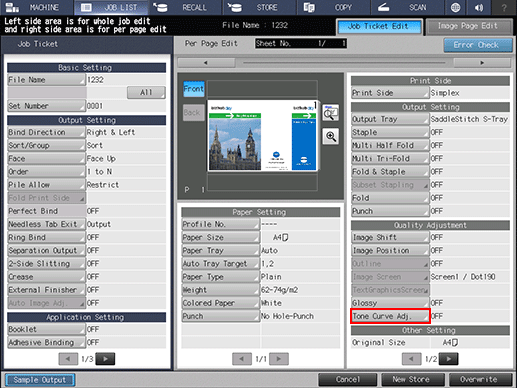
Confirm the following operations on the Job Ticket Edit screen.
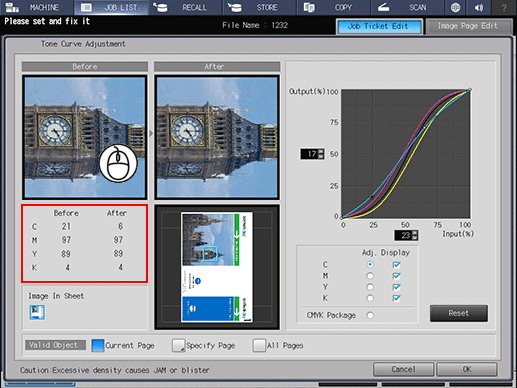
Tone curve adjustment: Press Tone Curve Adj. on the lower right of the screen.
You can change the shape of the tone curve by clicking the tone curve to create an adjustment point, and then dragging it. If you want to delete an adjustment point, drag it outside the graph.
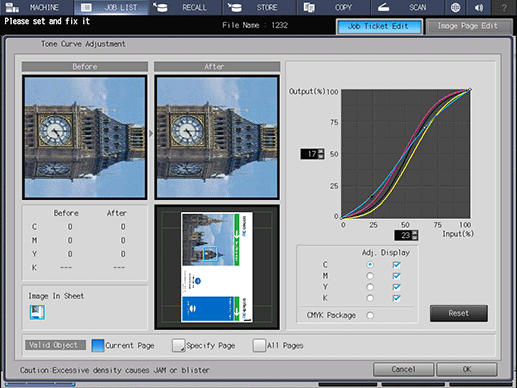
If the cursor is placed anywhere on the Before or After image, the CMYK values before and after adjustment are displayed.
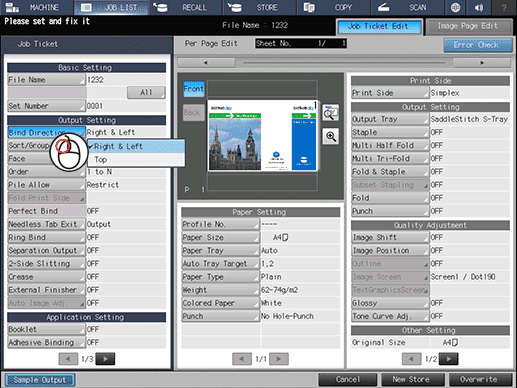
Pull down: Press Bind Direction in Output Setting to select Right & Left or Top from the pull-down menu.
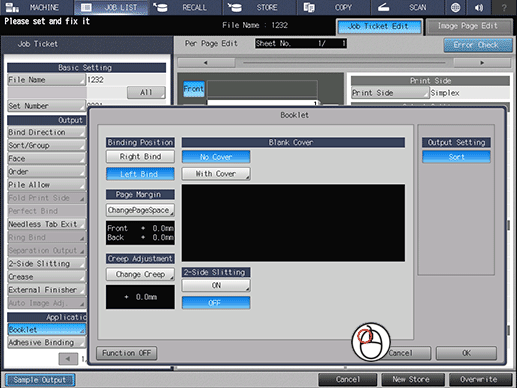
Automatic cursor movement: Press Booklet in Application Setting. The cursor automatically moves on the pop-up screen.
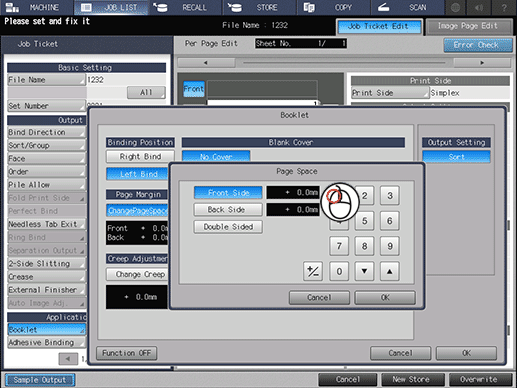
Mouse wheel number input: Press Booklet in Application Setting, press Change Page Space, and then raise the number by rotating the wheel up.
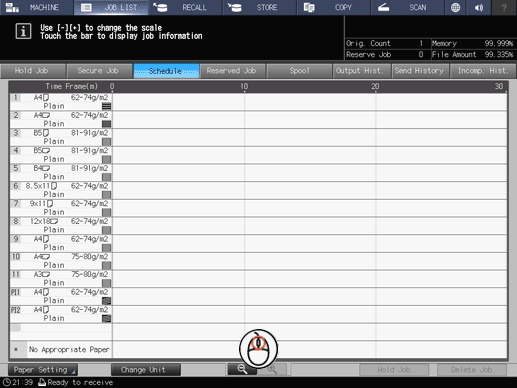
In the Schedule screen, you can change the magnification by using the wheel.
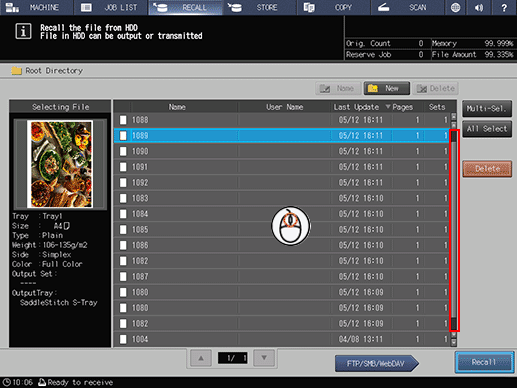
RECALL Screen
You can move on the list in the RECALL screen by using the wheel.