
[Rotate/Skew] Adjustment
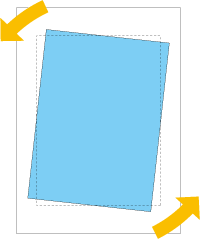
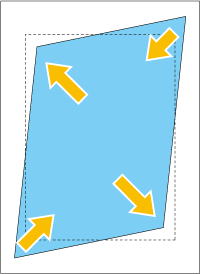
If the entire image rotates clockwise or counterclockwise or a diagonal skew is detected, adjust the value specified in [Rotate/Skew]. This adjustment is available for the front side and back side.
[Rotate/Skew] is automatically set to the adjustment value when the adjustment is conducted as follows. (The adjustment value is set to both [Front] and [Back] depending on conditions. )
 [Rotate/Skew] - [Chart Adjustment]
[Back] - [Chart Adjustment]
[Scan Meas.] adjustment
The adjustment value is applied onto the [Rotate/Skew] screen, and it can be adjusted manually as needed.
To manually adjust [Rotate/Skew], follow the steps below.
The adjustment value specified in [Rotate/Skew] is held for each tray. If the paper size of the tray is changed, adjust the value specified in [Rotate/Skew] again to suit the paper you are using.

If [UTILITY] - [User Setting] - [Common Setting] - [Both Sides Rotate/Skew] (or [UTILITY] - [Administrator Setting] - [Common Setting] - [Both Sides Rotate/Skew]) is set to [Disable], the [Rotate/Skew] adjustment does not function. To make the [Rotate/Skew] adjustment, set [Both Sides Rotate/Skew] to [Enable].
When the adjustment value is set on the [Rotate/Skew] screen, its value is held even if [Both Sides Rotate/Skew] is set to [Disable]. If [Both Sides Rotate/Skew] is set to [Enable], the same adjustment value can be used for adjustment.
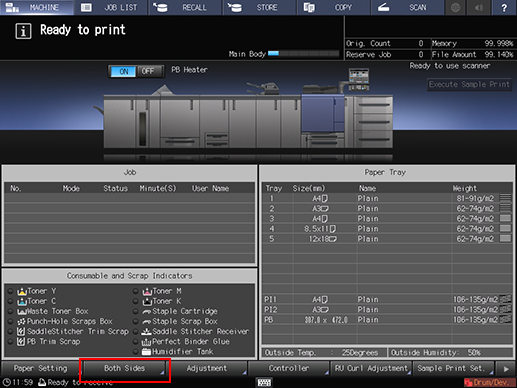
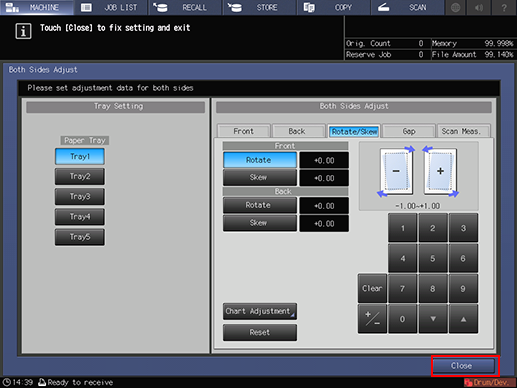
Press [Both Sides] on the [MACHINE] screen.
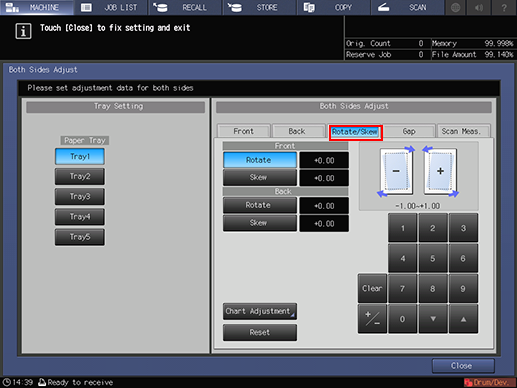
Select the tray in which the papers to be adjusted have been set.
Press [Rotate/Skew].
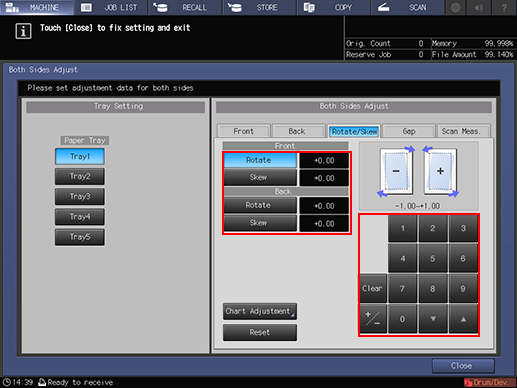
Enter the adjustment value in [Rotate] using the touch panel keypad, [
 ], or [
 ].
].Press [Rotate] under [Front] or [Back], then enter the numeric value.
To rotate the image counterclockwise, enter a positive value, and to rotate it clockwise, enter a negative value.
Adjustment range: [Front]/[Back] -1.00 to +1.00 (1 step = 0.01)
Use [+/-] to specify the value to be positive or negative.
Press [Clear] to reset the numeric value you are currently entering.
Pressing [Reset (Front/Back)] resets all the values you specified in [Rotate/Skew].
[Rotate] adjustment example: If the image on the front side is inclined clockwise, press [Rotate] under [Front], then enter a positive value. The image on the front side rotates counterclockwise.
Enter the adjustment value in [Skew] using the touch panel keypad, [
], or [].Press [Skew] under [Front] or [Back], then enter the numeric value.
To adjust so that the right corner of the image lowers, enter a negative value. To adjust so that the left corner lowers, enter a positive value.
Adjustment range: [Front][/Back] -1.00 to +1.00 (1 step = 0.01)
The method of entering a value is the same as that of the step 4.
[Skew] adjustment example: If an upward-sloping skew is detected on the image in the front side, press [Skew] under [Front], then enter a negative value. The skew level lowers, getting closer to a normal form.
Press [Close].
Now, the [Rotate/Skew] adjustment is completed.