
Centering Adjustment
Adjust the image position in the crosswise direction when scanning the original from the original glass.
Objects of Adjustment: Orig. Glass Centering
NOTICE
Make this adjustment after completing Machine Adjustment - Printer Adjustment - Centering Adjustment.
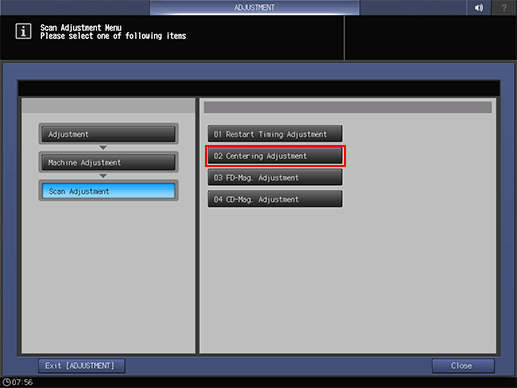
Press Adjustment on the MACHINE screen to display the Adjustment Menu screen.
Press Machine Adjustment, Scan Adjustment, and Centering Adjustment in sequence.
Press Print Mode.

Load A3 short edge feed or 11 17 short edge feed paper in any tray, and select the tray.
Position the test chart on the original glass, then press Start on the control panel.
A test chart is copied.
Check the misalignment by comparing the output paper with the chart.
Allowance: within 0 mm ± 1.5 mm
If any adjustment is required, press Exit PrintMode to return to the Centering Adjustment screen.
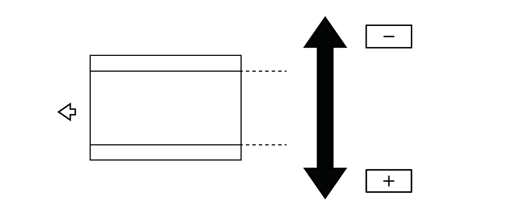
Use the touch panel keypad or the keypad on the control panel to enter the setting data.
Adj. Range: -57~+57 1 step = 0.1mm
[-] Back [+] Front
supplementary explanationUse +/- to specify the value to be positive or negative.
supplementary explanationPress Set to change the Current Value.
Repeat steps 3 to 9 until the desired result is obtained.
Press Return.
The screen returns to the Scan Adjustment Menu screen.