Using a Computer to Store a Secure Job
Storing a Job Using the PS Plug-in Driver
You can perform Secure Print for print jobs using the computer with the PS Plug-in driver installed.
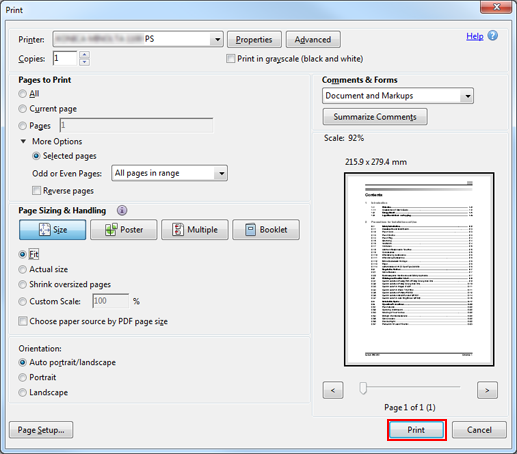
In the application, open the Secure Print data, and click [Print] in the [File] menu.
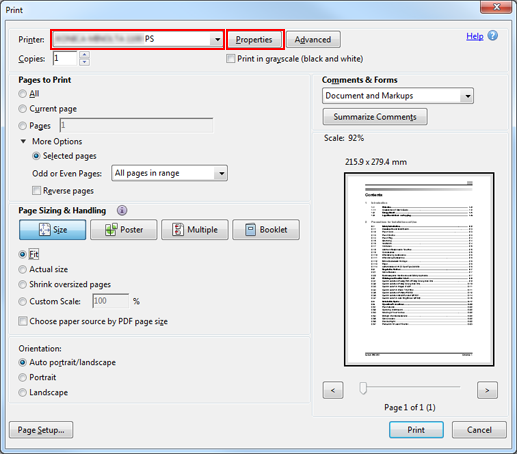
Select the printer (PS Plug-in driver) to print data, and click [Properties].
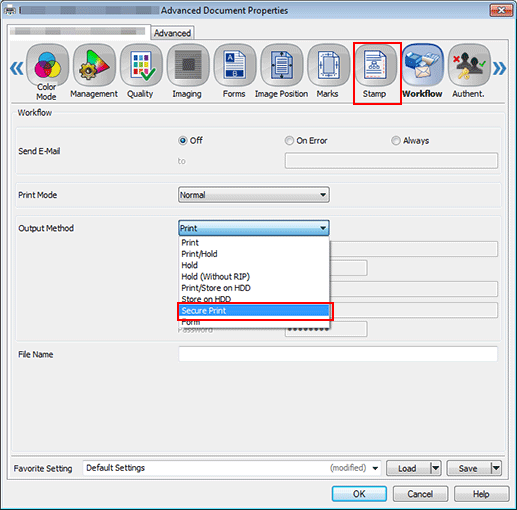
Click the [Workflow] tab, and then select [Secure Print] in the [Output Method] pull-down menu.
At this time, [Normal] is automatically selected for [Print Mode].
Enter the [Secure Print ID] and [Password]. When you enter the password in [Password], [Reenter] is displayed. Then, enter the same password.
The ID and password can be specified using up to 8 one-byte characters
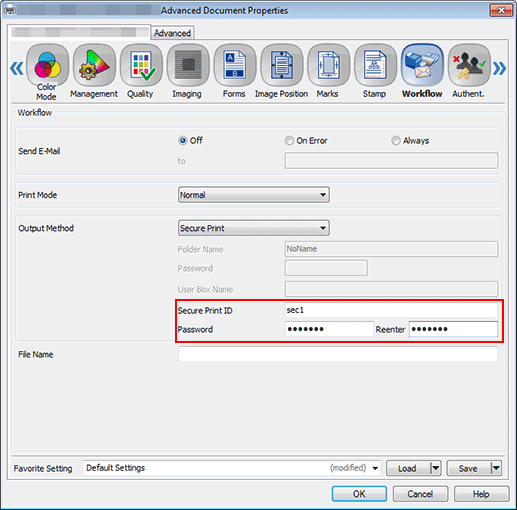
Enter a file name in the [File Name] field and click [OK].
It is possible to skip entering a file name. If the file name is omitted, this machine assigns the last 4 digits of the job ID to be created automatically.

Click [Print] to send the job to the Secure Job User Box of this machine.