
Staple Center Position
2 Position Staple Center Position
Adjust the center position for 2-position staple in Saddle Stitcher SD-513.
NOTICE
Make this adjustment after completing Half-Fold Position Adj..
Press Adjustment on the MACHINE screen to display the Adjustment Menu screen.
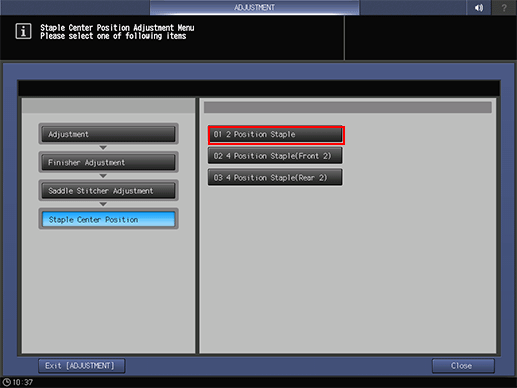
Press Finisher Adjustment, Saddle Stitcher Adjustment, Staple Center Position, and 2 Position Staple in sequence.
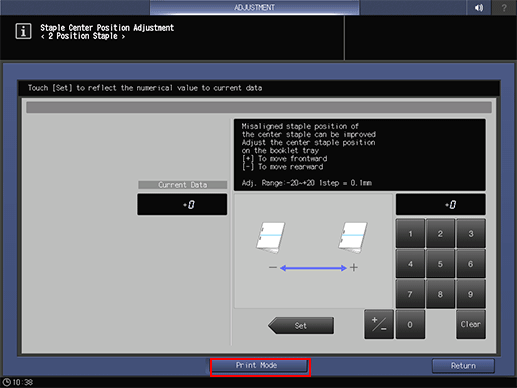
Press Print Mode.
Load A3 paper short edge feed or 11 17 short edge feed paper in any tray, and select the button of that tray.
Press Start on the control panel.
A sample pattern will be output.
Check the misalignment between the staple center position and paper center position.
If any adjustment is required, press Exit PrintMode to return to the Staple Center Position Adjustment screen.
Use the touch panel keypad to enter the set value.
Adj. Range: -20~+20 1 step = 0.1 mm
[-] To move rearward [+] To move frontward
supplementary explanationUse +/- to specify the value to be positive or negative.
supplementary explanationPress Set to change the Current Value.
Repeat steps 3 to 8 until the desired result is obtained.
Press Return.
The screen returns to the Staple Center Position Adjustment Menu screen.
Center position at two locations on the front edge for 4-position staple
Adjust the center position at two locations on the front edge for 4-position staple in Saddle Stitcher SD-513.
Objects of Adjustment: Offset for All Size, B4 short edge feed, 8K short edge feed, 11 17 short edge feed, A3 short edge feed, Custom(380~488 mm), Custom(257~379 mm)
NOTICE
If a numeric value is specified for Offset for All Size, it is applied to all paper sizes. With a specific paper size selected,the set value becomes the sum of the entered value and the value previously specified for Offset for All Size.
NOTICE
Make this adjustment after completing Half-Fold Position Adj..
Press Adjustment on the MACHINE screen to display the Adjustment Menu screen.
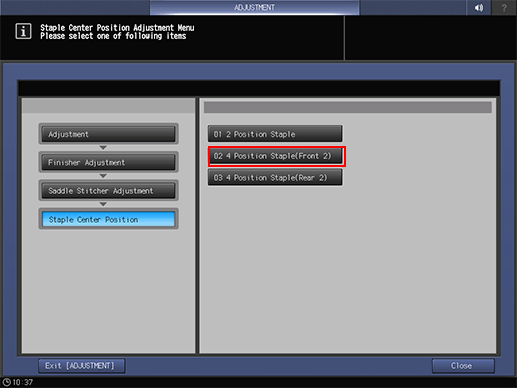
Press Finisher Adjustment, Saddle Stitcher Adjustment, Staple Center Position, and 4 Position Staple(Front 2) in sequence.
Select the size to be adjusted.
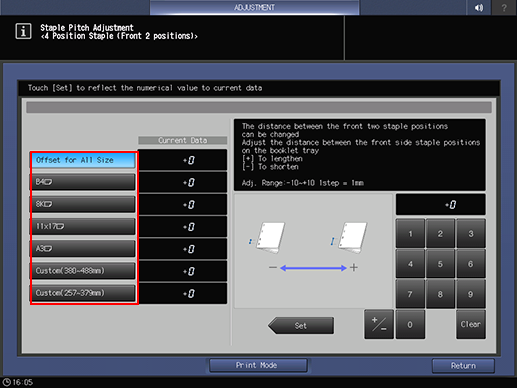
Press Print Mode.
Load the paper with the size to be adjusted, then select that tray.
Press Start on the control panel.
A sample pattern will be output.
Check the length from the edge to the center of 4 Position Staple(Front 2) for the paper size.
If any adjustment is required, press Exit PrintMode to return to the Staple Center Position Adjustment screen.
Use the touch panel keypad to enter the set value.
Adj. Range: -100~+100 1 step = 0.1 mm
[-] To move rearward [+] To move frontward
supplementary explanationUse +/- to specify the value to be positive or negative.
supplementary explanationPress Set to change the Current Value.
The adjustment range may be limited depending on the paper size.
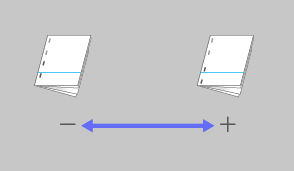
Repeat steps 4 to 9 until the desired result is obtained.
Press Return.
The screen returns to the Staple Center Position Adjustment Menu screen.
Center position at two locations on the rear edge for 4-position staple
Adjust the center position at two locations on the rear edge for 4-position staple in Saddle Stitcher SD-513.
Objects of Adjustment: Offset for All Size, B4 short edge feed, 8K short edge feed, 11 17 short edge feed, A3 short edge feed, Custom(380~488 mm), Custom(257~379 mm)
NOTICE
If a numeric value is specified for Offset for All Size, it is applied to all paper sizes. With a specific paper size selected,the set value becomes the sum of the entered value and the value previously specified for Offset for All Size.
NOTICE
Make this adjustment after completing Half-Fold Position Adj..
Press Adjustment on the MACHINE screen to display the Adjustment Menu screen.
Press Finisher Adjustment, Saddle Stitcher Adjustment, Staple Center Position, and 4 Position Staple(Rear 2) in sequence.
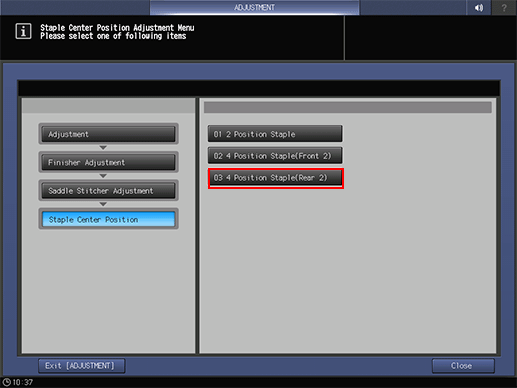
Select the size to be adjusted.
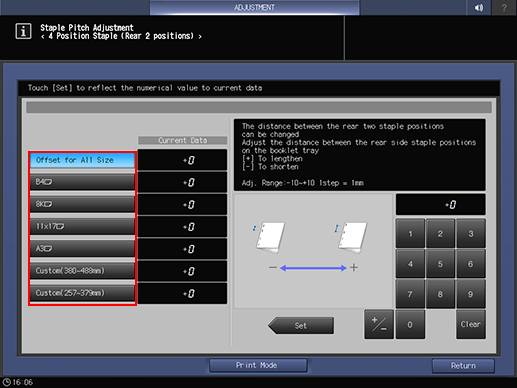
Press Print Mode.
Load the paper with the size to be adjusted, then select that tray.
Press Start on the control panel.
A sample pattern will be output.
Check the length from the edge to the center of 4 Position Staple(Rear 2) for the paper size.
If any adjustment is required, press Exit PrintMode to return to the Staple Center Position Adjustment screen.
Use the touch panel keypad to enter the set value.
Adj. Range: -100~+100 1 step = 0.1 mm
[-] To move rearward [+] To move frontward
supplementary explanationUse +/- to specify the value to be positive or negative.
supplementary explanationPress Set to change the Current Value.
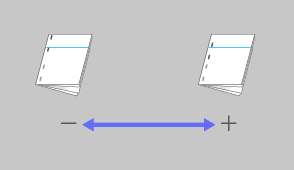
Repeat steps 4 to 9 until the desired result is obtained.
Press Return.
The screen returns to the Staple Center Position Adjustment Menu screen.
