
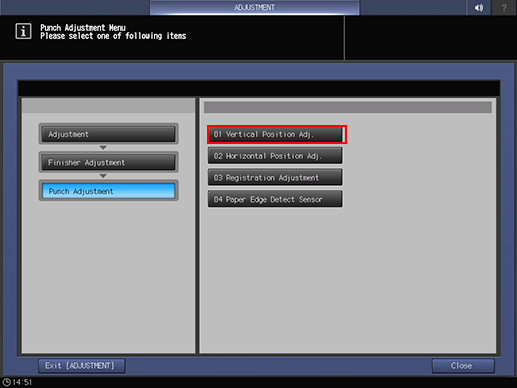
Punch Adjustment
Vertical Position Adj.
When Finisher FS-531 or Finisher FS-612 is equipped with Punch Kit PK-511, adjust the misalignment between the center of the printed paper and that of punch holes.
Objects of Adjustment: Offset for All Size, A3 short edge feed, B4 short edge feed, A4 short edge feed, A4 long edge feed, B5 short edge feed, B5 long edge feed, A5 short edge feed, A5 long edge feed, 11 17 short edge feed, 8.5 14 short edge feed, 8.5 11 short edge feed, 8.5 11 long edge feed, 5.5 8.5 short edge feed, 5.5 8.5 long edge feed, 8 13 short edge feed, 8K short edge feed, 16K short edge feed, 16K long edge feed, 9 11 long edge feed
Press Adjustment on the MACHINE screen to display the Adjustment Menu screen.
Press Finisher Adjustment, Punch Adjustment, and Vertical Position Adj. in sequence.
Select the size to be adjusted using down or up.
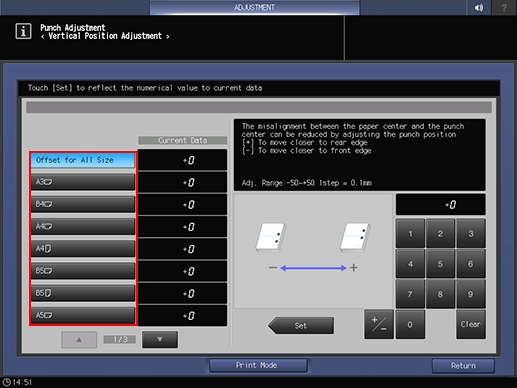
Press Print Mode.
Load the paper with the size to be adjusted, then select that tray.
Press Start on the control panel.
A sample pattern will be output.
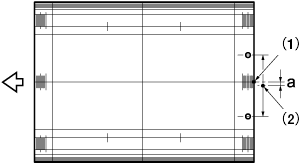
Adjust the misalignment, "a", between the center of printed paper and the center of punch holes.
Allowance: a = 0 mm ± 1 mm
(1) Center of paper (2) Center of punch holes
If any adjustment is required, press Exit PrintMode to return to the Vertical Position Adj. screen.
Use the touch panel keypad to enter the set value.
Adj. Range: -50~+50 1 step = 0.1 mm
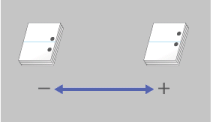
[-] To move closer to front edge [+] To move closer to rear edge
supplementary explanationUse +/- to specify the value to be positive or negative.
supplementary explanationPress Set to change the Current Value.
Repeat steps 4 to 9 until the desired result is obtained.
Press Return.
The screen returns to the Punch Adjustment Menu screen.
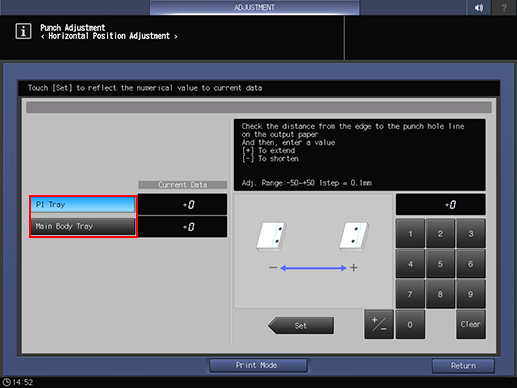
Horizontal Position Adj.
When Finisher FS-531 or Finisher FS-612 is equipped with Punch Kit PK-511, adjust the misalignment between the center of the printed paper and that of punch holes.
Objects of Adjustment: PI Tray, Main Body Tray
Press Adjustment on the MACHINE screen to display the Adjustment Menu screen.
Press Finisher Adjustment, Punch Adjustment, and Horizontal Position Adj. in sequence.

Select either PI Tray or Main Body Tray.
Press Print Mode.
Select the tray loaded with paper.
Press Start on the control panel.
A sample pattern will be output.
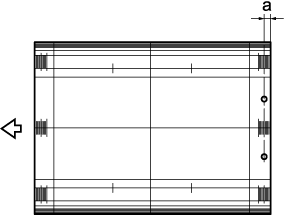
Measure the distance (a) from the edge of the printed paper to the center of punch holes.
Allowance: a = 10.5 mm ± 5.0 mm
If any adjustment is required, press Exit PrintMode to return to the Horizontal Position Adj. screen.
Use the touch panel keypad to enter the set value.
Adj. Range: -50~+50 1 step = 0.1 mm
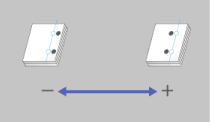
[-] To shorten [+] To extend
supplementary explanationUse +/- to specify the value to be positive or negative.
supplementary explanationPress Set to change the Current Value.
Repeat steps 4 to 9 until the desired result is obtained.
Press Return.
The screen returns to the Punch Adjustment Menu screen.
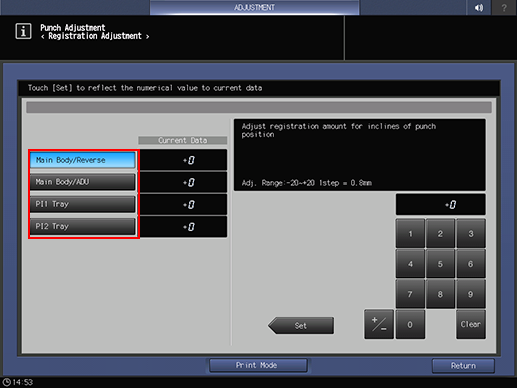
Registration Adjustment
When Finisher FS-531 or Finisher FS-612 is equipped with Punch Kit PK-511, adjust the registration loop amount if punch holes are positioned obliquely
Objects of Adjustment: Main Body/Reverse, Main Body/ADU, PI 1 Tray, PI 2 Tray
Press Adjustment on the MACHINE screen to display the Adjustment Menu screen.
Press Finisher Adjustment, Punch Adjustment, and Registration Adjustment in sequence.

Press the key of the item to be adjusted.
Press Print Mode.
Select the tray loaded with paper.
Press Start on the control panel.
A sample pattern will be output.
Check if the punch holes are skew on the printed paper.
If the adjustment of the registration amount is required, press Exit PrintMode to return to the Registration Adjustment screen.
Use the touch panel keypad to enter the set value.
Adj. Range: -20~+20 1 step = 0.8 mm
supplementary explanationUse +/- to specify the value to be positive or negative.
supplementary explanationPress Set to change the Current Value.
Repeat steps 4 to 9 until the desired result is obtained.
Press Return.
The screen returns to the Punch Adjustment Menu screen.
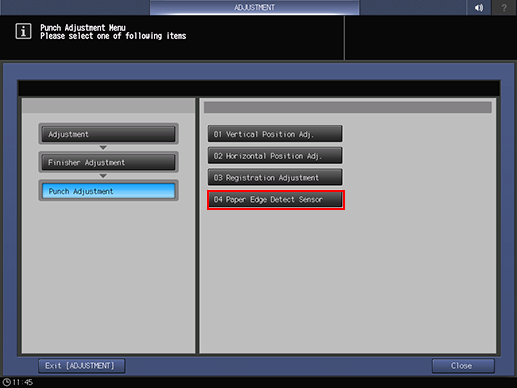
Paper Edge Detect Sensor
When Finisher FS-531 or Finisher FS-612 is equipped with Punch Kit PK-511, the sensor sensitivity is automatically adjusted so as to correctly detect the paper edge that is used as the reference for punch holes.
Press Adjustment on the MACHINE screen to display the Adjustment Menu screen.
Press Finisher Adjustment, Punch Adjustment, and Paper Edge Detect Sensor in sequence.
Press Start.
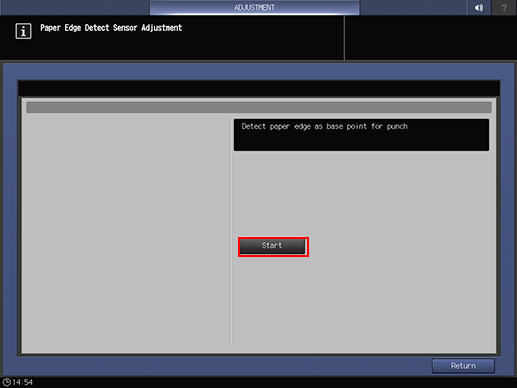
Press Return.
The screen returns to the Punch Adjustment Menu screen.