Install Color Centro: Macintosh

If nothing is displayed on the desktop when a CD-ROM is inserted in Mac OS, the mount setting may be disabled. Check with the "Preferences" of Finder if the mount setting is disabled.
Insert the installation CD-ROM into the CD-ROM drive of the computer.
Make sure that the installer starts, and then go to Step 2.
If the installer does not start, double-click [ColorCentro.pkg] on the CD-ROM.
Click [Continue].
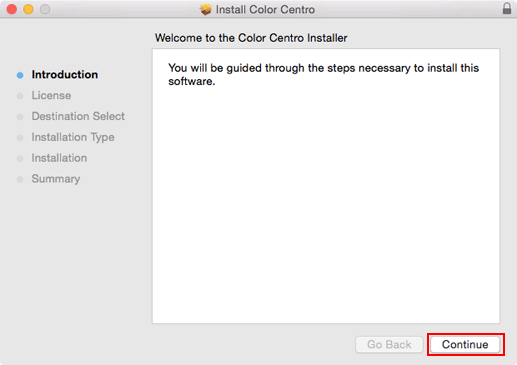
The [License Agreement] screen is displayed.
Select a language.
Confirm the content. When you agree all the terms, click [Continue].
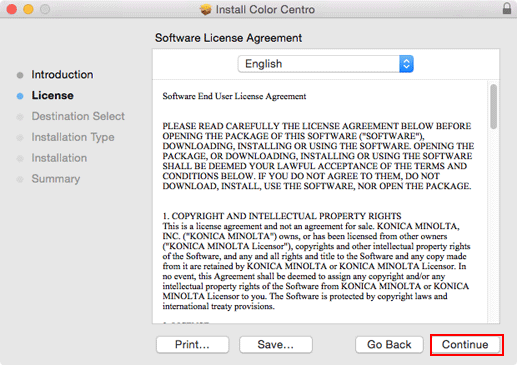
In the language display box, you can change the language used with the license agreement as required.
When the confirmation dialog box is displayed, click [Agree].

If you disagree, you will not be able to install Color Centro.
Select a destination, and then click [Continue].
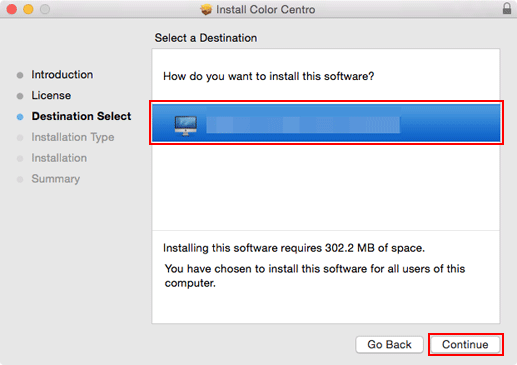
By default, Color Centro is installed here.
/Applications/MFP-Printer Utility/Color Centro
Click [Install].
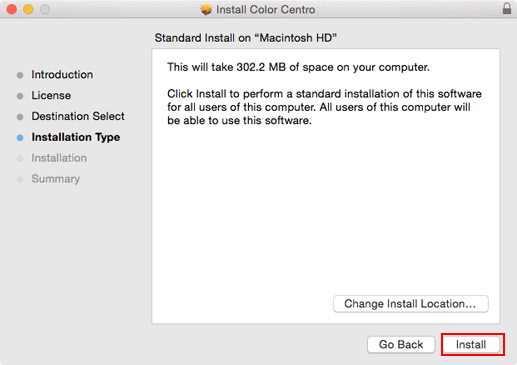
If you want to change the destination folder, click [Modify Location], select the desired location on the displayed screen, then click [Continue].
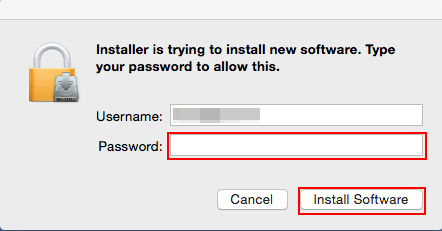
If you are prompted to enter the password, enter the password, then click [Install Software].
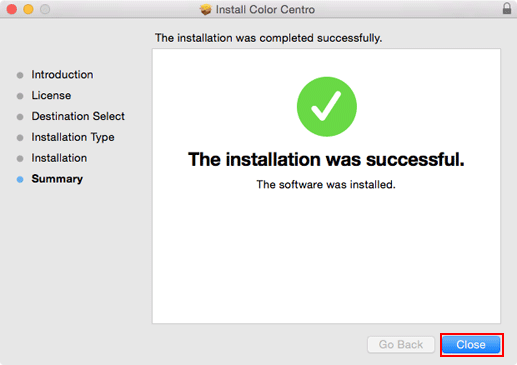
When the installation complete screen is displayed, click [Close].